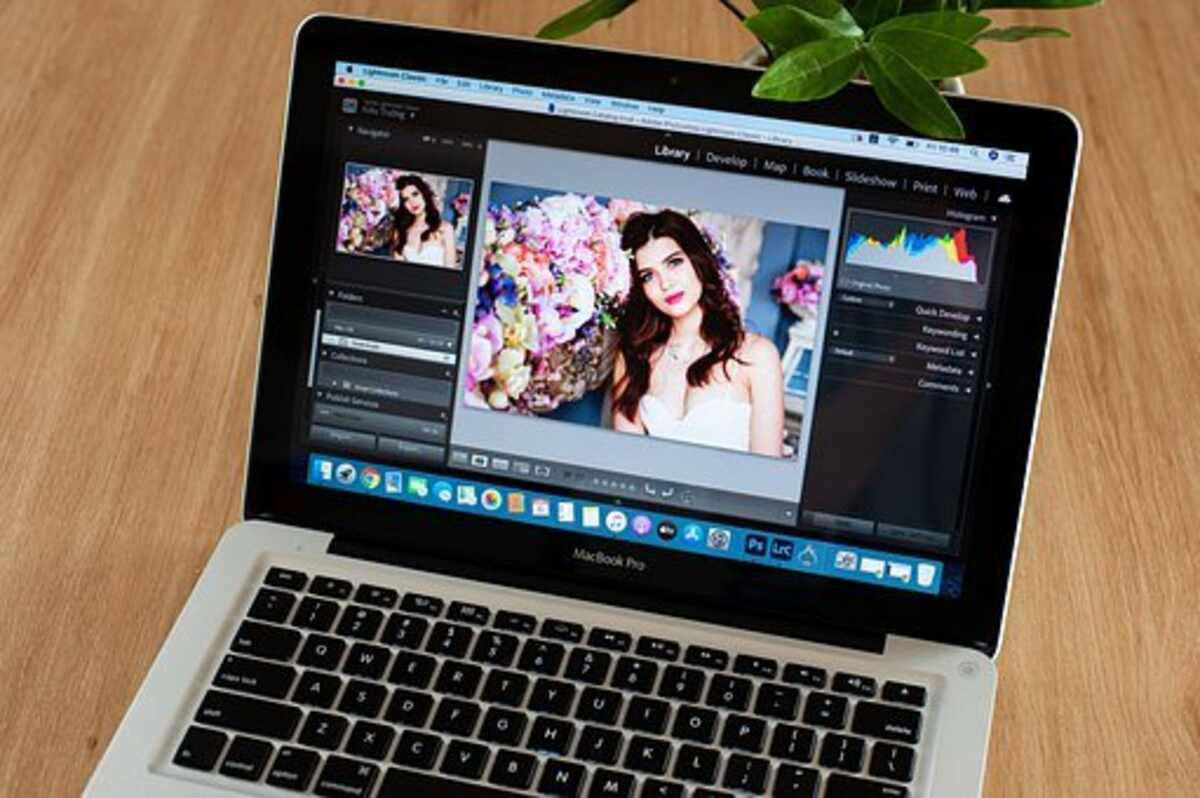
Lightroom is a great way to manage and edit your photographs. It has many tools that can be very helpful, including Presets, Smart Previews, and the Masking tool. In this Lightroom tutorial, we’ll talk about how to use these tools. In addition, you’ll learn how to create virtual copies of your images to compare different edits. Having virtual copies of your photos will save you disk space.
Lightroom’s five-star rating scale
Lightroom has a system of assigning stars to images, which you can use to sort through thousands of photos quickly. A star is equivalent to a grade ranging from one to five. A five-star idea is considered superior to an average one. To assign a star, select the image and press the number pad or keyboard keys from one to five. This will display the stars in the bottom left of the image thumbnail.
The system lets you assign different stars to images by pressing the numeric keys or clicking the star icons in the toolbox. The T quick key, which displays and hides the toolbar, also lets you assign different colours to your images. For example, you can set yellow or red blooms in your pictures. However, there does not appear to be a quick key for purple.
Presets
Lightroom has a great range of presets that make colour, contrast, detail, and other editing tasks easier and faster. In the Presets panel, these presets can be found on the left-hand side of the Develop module. Click on a preset to see what it does, and you can easily tweak it to suit your taste.
Many presets also mimic classic film styles, transforming images with grain, tinting, and tone curves. These presets can help you achieve cinematic tonal balance while enhancing light and contrast. For example, the Bright and Airy preset reshape images with lifted highlights and high contrast, creating an airy, warm feel.
Smart Previews
Smart Previews are smaller versions of your original photos. This frees up disk space, especially on small external devices. For example, 500 raw images from a high-end DSLR camera can take up 14 GB of space on your disk, but only 400 MB in Smart Previews. Smart Previews also allow you to continue working on your original File even if your computer is disconnected.
If you’d like to view your images on a different computer, you can export them to a catalogue and use them in another application. Just make sure to name the folder as you would use in Lightroom. Then, in the Export dialogue box, check the box that says Include Smart Previews. Also, uncheck the box for Export Negative Files.
Masking tool
When using Photoshop tools, you can use the masking tool to selectively edit parts of a photo. For example, the device can adjust highlights, shadows, and whites. It is a powerful tool for attracting attention to specific parts of an image. It is also one of the most versatile tools in Lightroom. It can be applied anywhere without the gradient tool, and it has adjustable settings for softness and density.
To use the masking tool, you must first select an area of the photo that you want to adjust. The masking tool will then open in the Masks panel. When you choose a selection, a grey circle will appear on the desired area. When you adjust the mask, only the selected areas will be displayed in the section. The selection can be made more specific using the invert option.
Exporting final image
There are two ways to export final images from Lightroom: using presets or by choosing to export manually. If you use presets, the export process is faster than manually selecting your pictures, clicking File, and entering the export dialogue. Alternatively, you can click on a specific photo, right-click on it, and select Export from the pop-up menu.
In Lightroom, you can export the final image with specific settings. For example, you can choose to ship a picture to a website or for printing. You can also select a particular resolution of output for the Export.